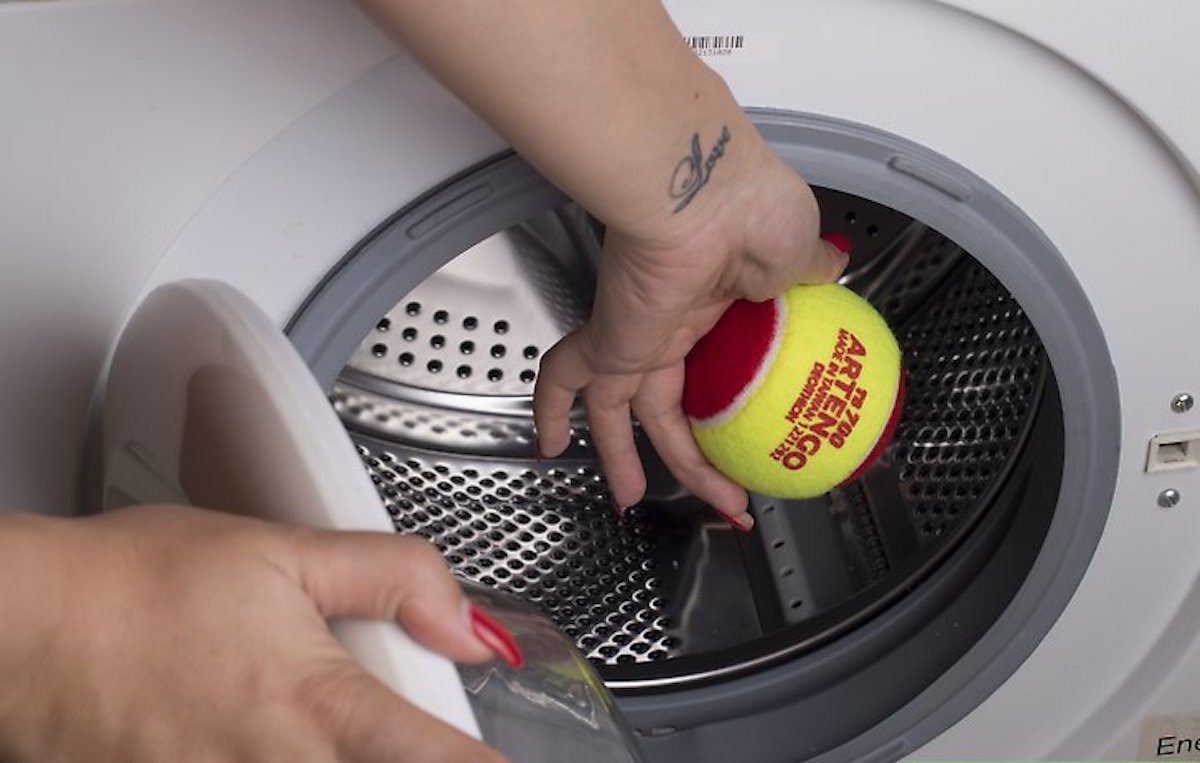
Step 3: Now that the filter has been allowed to soak for a while in the hot water with detergent and vinegar, it is time to take it out again. While the absorbed agent has already done much of the work, it is important to use some baking soda and a scouring pad to scrub all dirt off the filter.
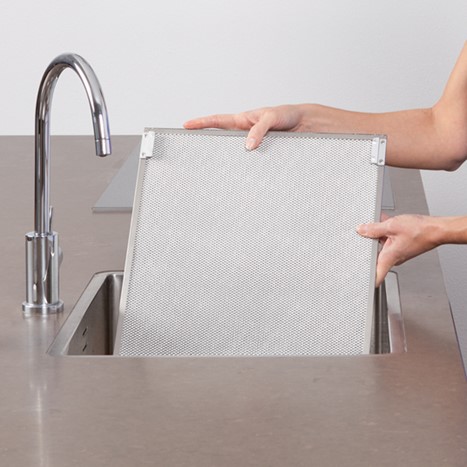
Step 4: Use a toothbrush or other small brush for the corners, you often cannot clean them with the larger tools.
Step 5: Rinse the filter well again with warm water, and then let it dry thoroughly. It is important that the filter is completely dry before putting it back in. This prevents the formation of new bacteria or dirt.
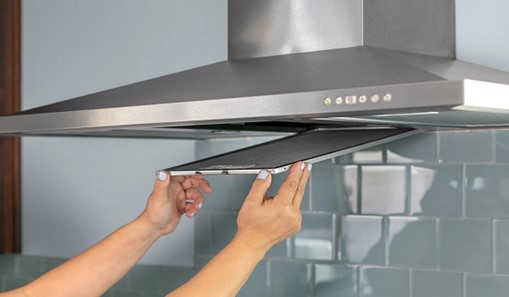
Step 6: When the filter is dry, place it back in the hood and it will work as if it were brand new again!
Super handy right? In this way, you can ensure that your extractor hood works properly again. Did this step-by-step plan help? Don’t forget to share this message with your friends!


